
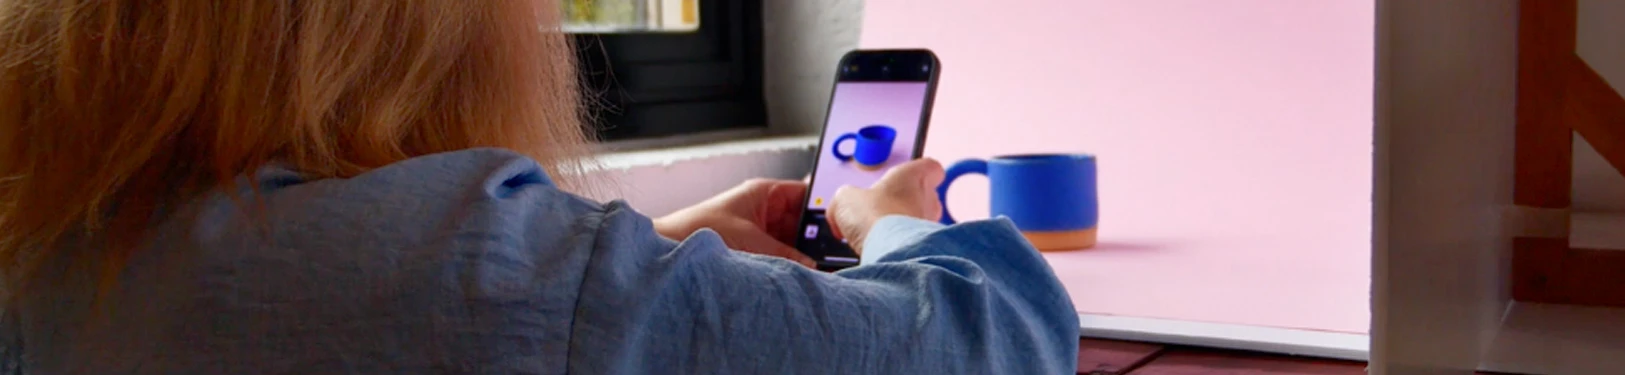
TAKE GOOD PRODUCT PHOTOS WITH JUST A PHONE
A practical guide for makers
You don’t need a studio to show your work at its best. With your phone, a few simple materials and the right light, you can take beautiful product photos at home.
01 / The guide
Build your mini studio.
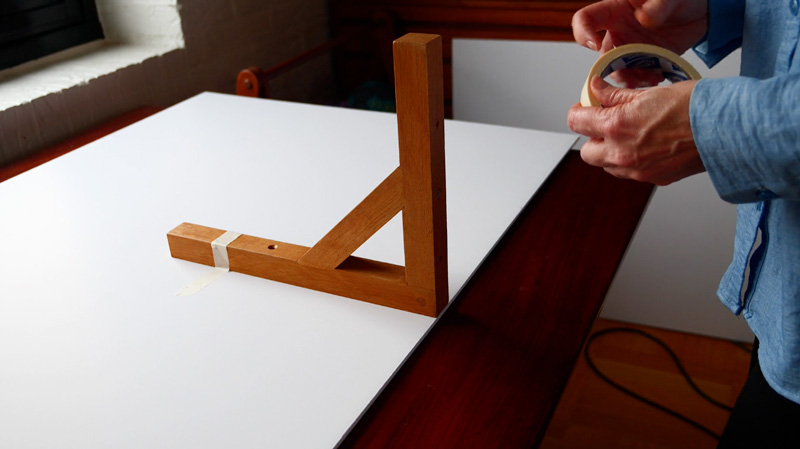
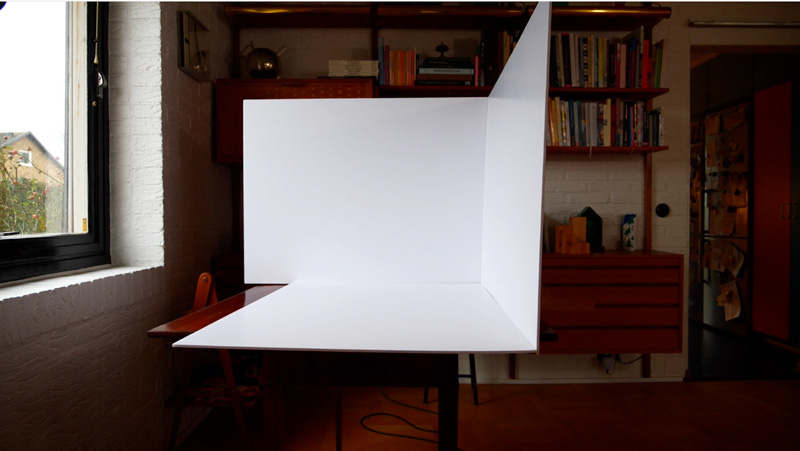
Tape a foam board to a shelf bracket so it can stand upright. Arrange two boards in an L shape: one behind your product, and one opposite the light to bounce it back and soften shadows.
Add a third board underneath for an all-white base. A small table near a window is all the space you need.
02 / The guide
Let the light do the work.
Choose a bright window without direct sunlight. Soft, even light makes it easier to capture the shape, colour and texture of your work. If the light is harsh, soften it with a thin white curtain or try again on a cloudy day.
No suitable window? Use one LED or ring light about 45 degrees to the side. Position your second foam board opposite the light to gently fill in the shadows.
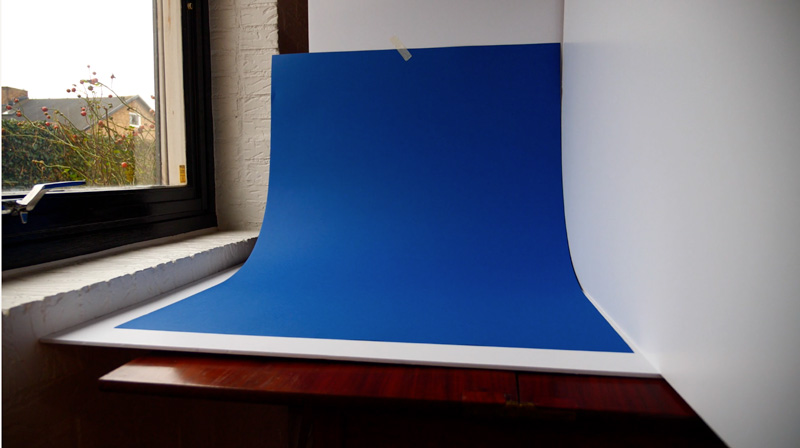
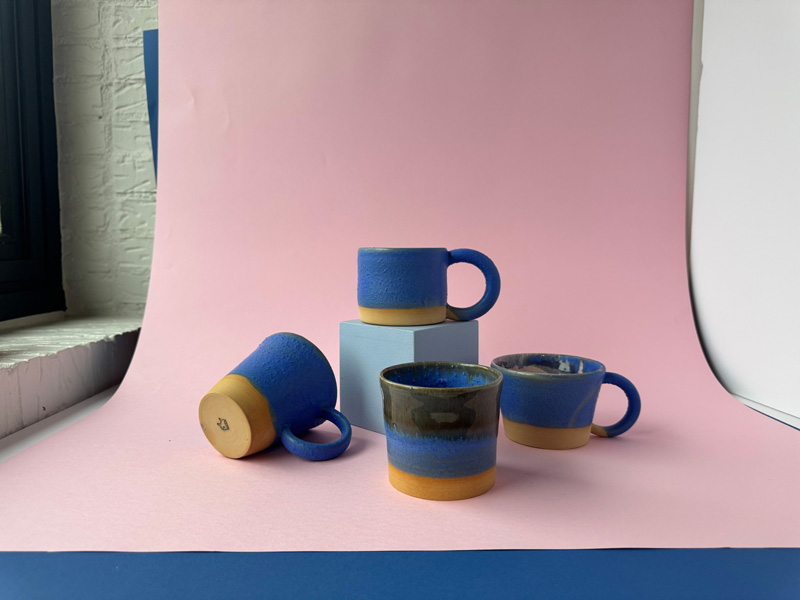
For a seamless background, curve a large sheet of paper behind and underneath your product. We bought ours from Matton.
03 / The guide
Show every side.
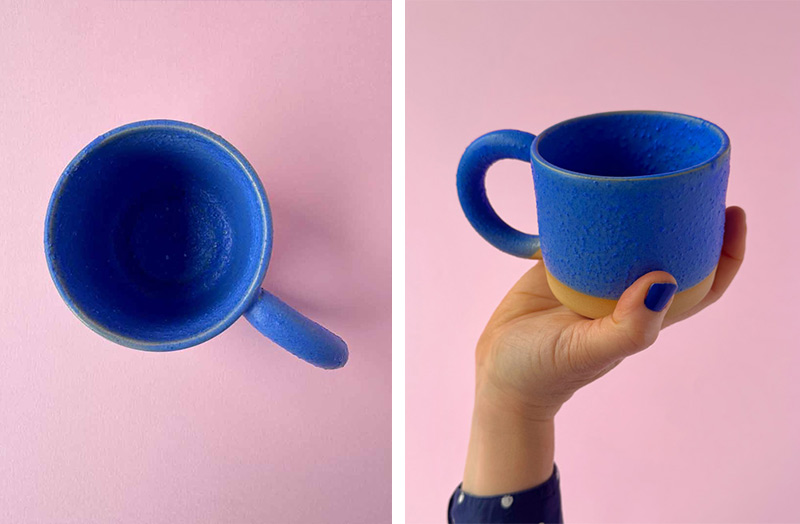
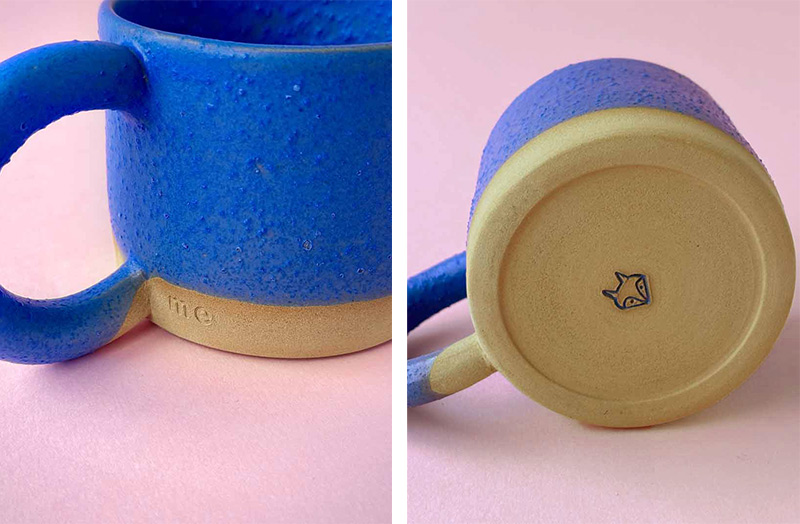
Help people understand exactly what they are buying. Keep your main image centred and uncluttered, then show the product from above, from the side and in close-up. Include a hand or a familiar object to give a sense of scale.
Your listing shot list
- A clear main image
- The front, side and view from above
- Materials and small details
- A photo that shows the scale
- The product in use
Aim for 5–8 images per listing. Give each photo something useful to show.
04 / The guide
Bring it into everyday life.
Alongside clear product shots, include a photo that helps people imagine your work in their own home. Show where it lives, how it is used or the small everyday moment it belongs to.
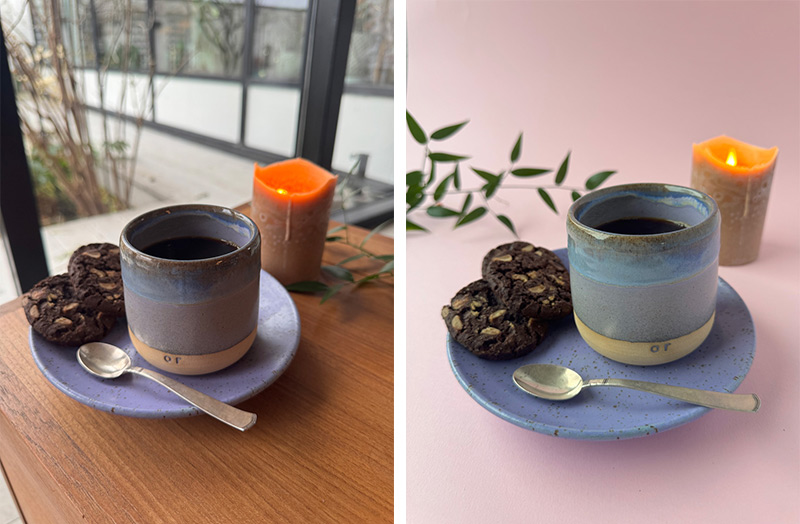
Keep it natural. A cup of coffee by a window or a favourite piece on a shelf can tell a story without an elaborate setup.
05 / The guide
Edit gently. Keep it true.
Make small adjustments to exposure and colour, keeping the result as close to the real product as possible. The free version of Adobe Lightroom for mobile is one option for basic editing.
A little light. A simple setup. Your work, shown at its best.
Related Blog